
Tutorial haskell gtk Feriel Choutri de Tarlé
Making a GTK application in Haskell, part 2
In Part 1, we showed how to build a minimal application using The Elm Architecture. Now let's add more features!
To keep this post readable, the code that you will see will not be complete,
in order for me to underline the main concepts.
You can find the whole project at https://github.com/Floreal-Technologies/adwaita-todo.
Rows and buttons
We are going to add two buttons to each task row, one for setting the task as done, and one for removing the task from the list altogether. First, let's grab our paper draft from earlier and add those elements:
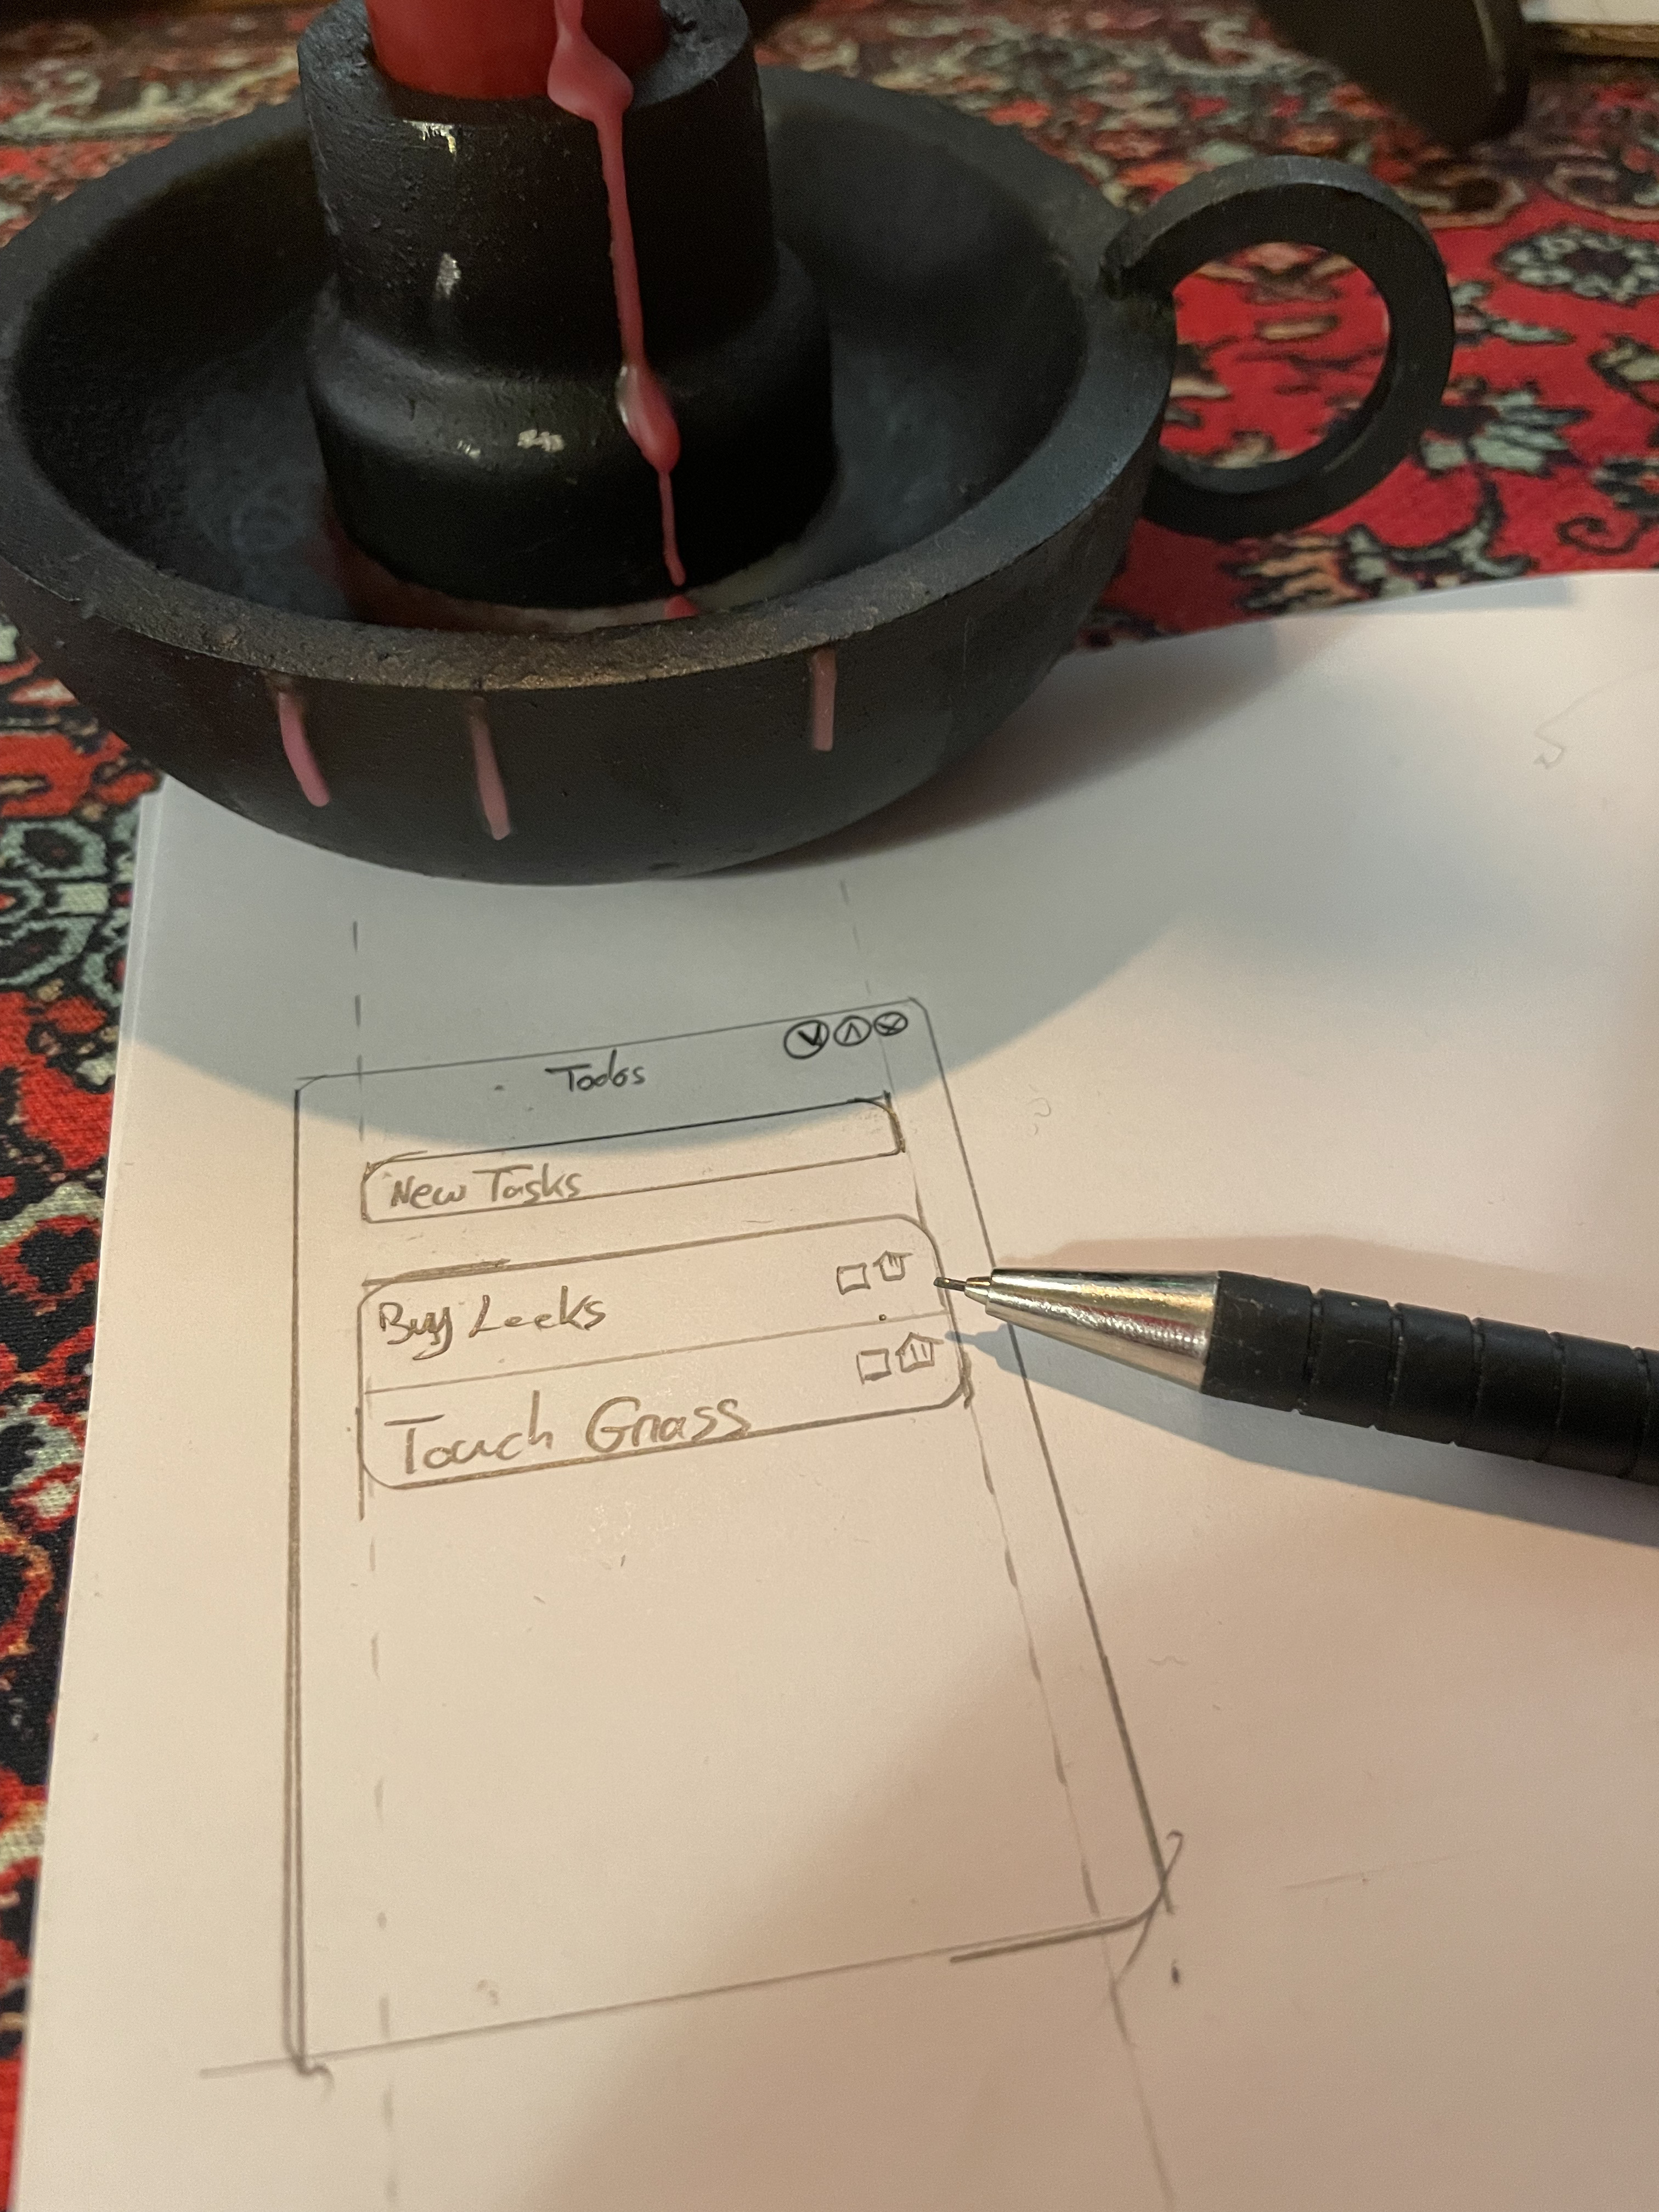
The widgets used for this are
- Button
- A button with a callback when clicked. The most basic of button primitives, but we can style it however we want.
- CheckButton
- A button that can be a checkbox or a radio button. In our case it will be a checkbox.
We previously saw this bit of code to display our rows:
forM_ (model.todos) $ \todo -> do
  row <- new Adw.ActionRow [#title := todo.title, #useMarkup := False]
  Gtk.listBoxAppend todoList row
However that's not enough now. Let's create a helper (aptly named todoRow) that will
handle all those buttons.
For our checkbox, we want to give it a callback when clicked, which will change the
done status in our Todo.
check <- new Gtk.CheckButton [#active := todo.done]
on check #toggled $ do
  active <- Gtk.checkButtonGetActive check
  dispatch (SetDoneStatus todo.id active)
Our delete button will be as such:
delete <-
  new
    Gtk.Button
      [ #iconName := "user-trash-symbolic"
      -- ^ An internal name of GTK for a bin
      , #tooltipText := "Delete"
      , #cssClasses := ["flat"]
      ]
on delete #clicked (dispatch (Delete todo.id))
Same pattern here: On the #clicked event, we call dispatch with the Delete message.
Together, they look like this:
todoRow
  :: (Message -> IO ())
  -> Todo
  -> IO Adw.ActionRow
todoRow dispatch todo = do
  -- The checkbox
  check <- new Gtk.CheckButton [#active := todo.done]
  on check #toggled $ do
    active <- Gtk.checkButtonGetActive check
    dispatch (SetDoneStatus todo.id active)

  -- The delete button
  delete <-
    new
      Gtk.Button
        [ #iconName := "user-trash-symbolic"
        , #tooltipText := "Delete"
        , #cssClasses := ["flat"]
        ]
  on delete #clicked (dispatch (Delete todo.id))
  row <- new Adw.ActionRow [#title := todo.title, #useMarkup := False]

  -- We add those buttons at the end of the row.
  Adw.actionRowAddSuffix row check
  Adw.actionRowAddSuffix row delete
  pure row
And we use the helper as such:
forM_ (model.todos) $ \todo -> do
-  row <- new Adw.ActionRow [#title := todo.title, #useMarkup := False]
+  row <- todoRow dispatch todo
   Gtk.listBoxAppend todoList row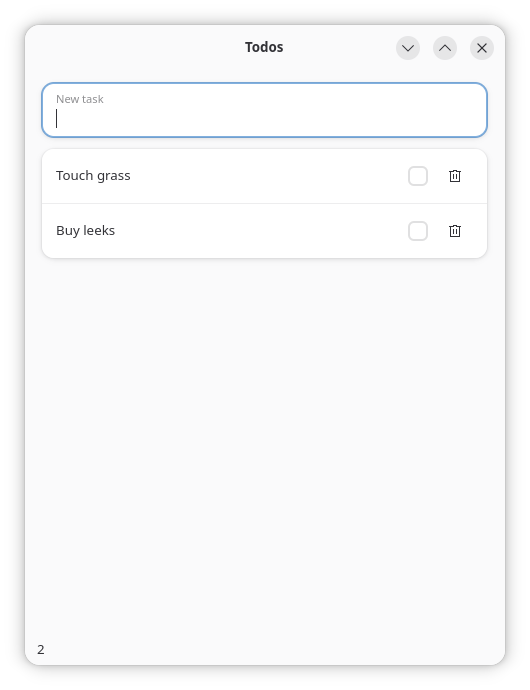
Can I nick a filter?
Let us now add more domain logic to our application and allow for filtering on task status.
With our application's architecture well-defined boundaries, we know that we have two places to touch: The Model and the View
The Model
We are going to extend the Model by adding a filter field, and create a Filter
type that will enumerate all the possible filter states: All, Active and Completed.
data Filter
  = All
  | Active
  | Completed
  deriving stock (Eq, Show, Ord)
Next to it, we will define:
- A way to parse the name from
Text
parseFilter :: Text -> Maybe Filter
parseFilter = \case
  "All" -> Just All
  "Active" -> Just Active
  "Completed" -> Just Completed
_ -> Nothing- Predicates to filter our tasks based on their
donestatus
matches :: Filter -> Todo -> Bool
matches All _ = True
matches Active todo = not todo.done
matches Completed todo = todo.done

visibleTasks :: Model -> [Todo]
visibleTasks model =
  List.filter (matches model.filter) (Map.elems model.todos)
data Model = Model
{ todos :: Map TodoId Todo
, nextId :: TodoId
+ , filter :: Filter
}
deriving stock (Eq, Show)
init :: Model
init =
Model
{ todos = Map.empty
, nextId = TodoId 0
+ , filter = All
}
data Message
= Add Text
| SetDoneStatus TodoId Bool
| Delete TodoId
+ | SetFilter Filter
deriving stock (Eq, Ord)And so we handle this new message in the update function:
   Delete todoId -> do
     withTodos (Map.delete todoId) model
+  SetFilter newFilter -> do
+    (model {filter = newFilter}, [])
The View
Let's now tackle the interface. As usual, it's better to draw what we expect first. In our case, let's say we are going to replace the title "Todos" with the filter selection bar.
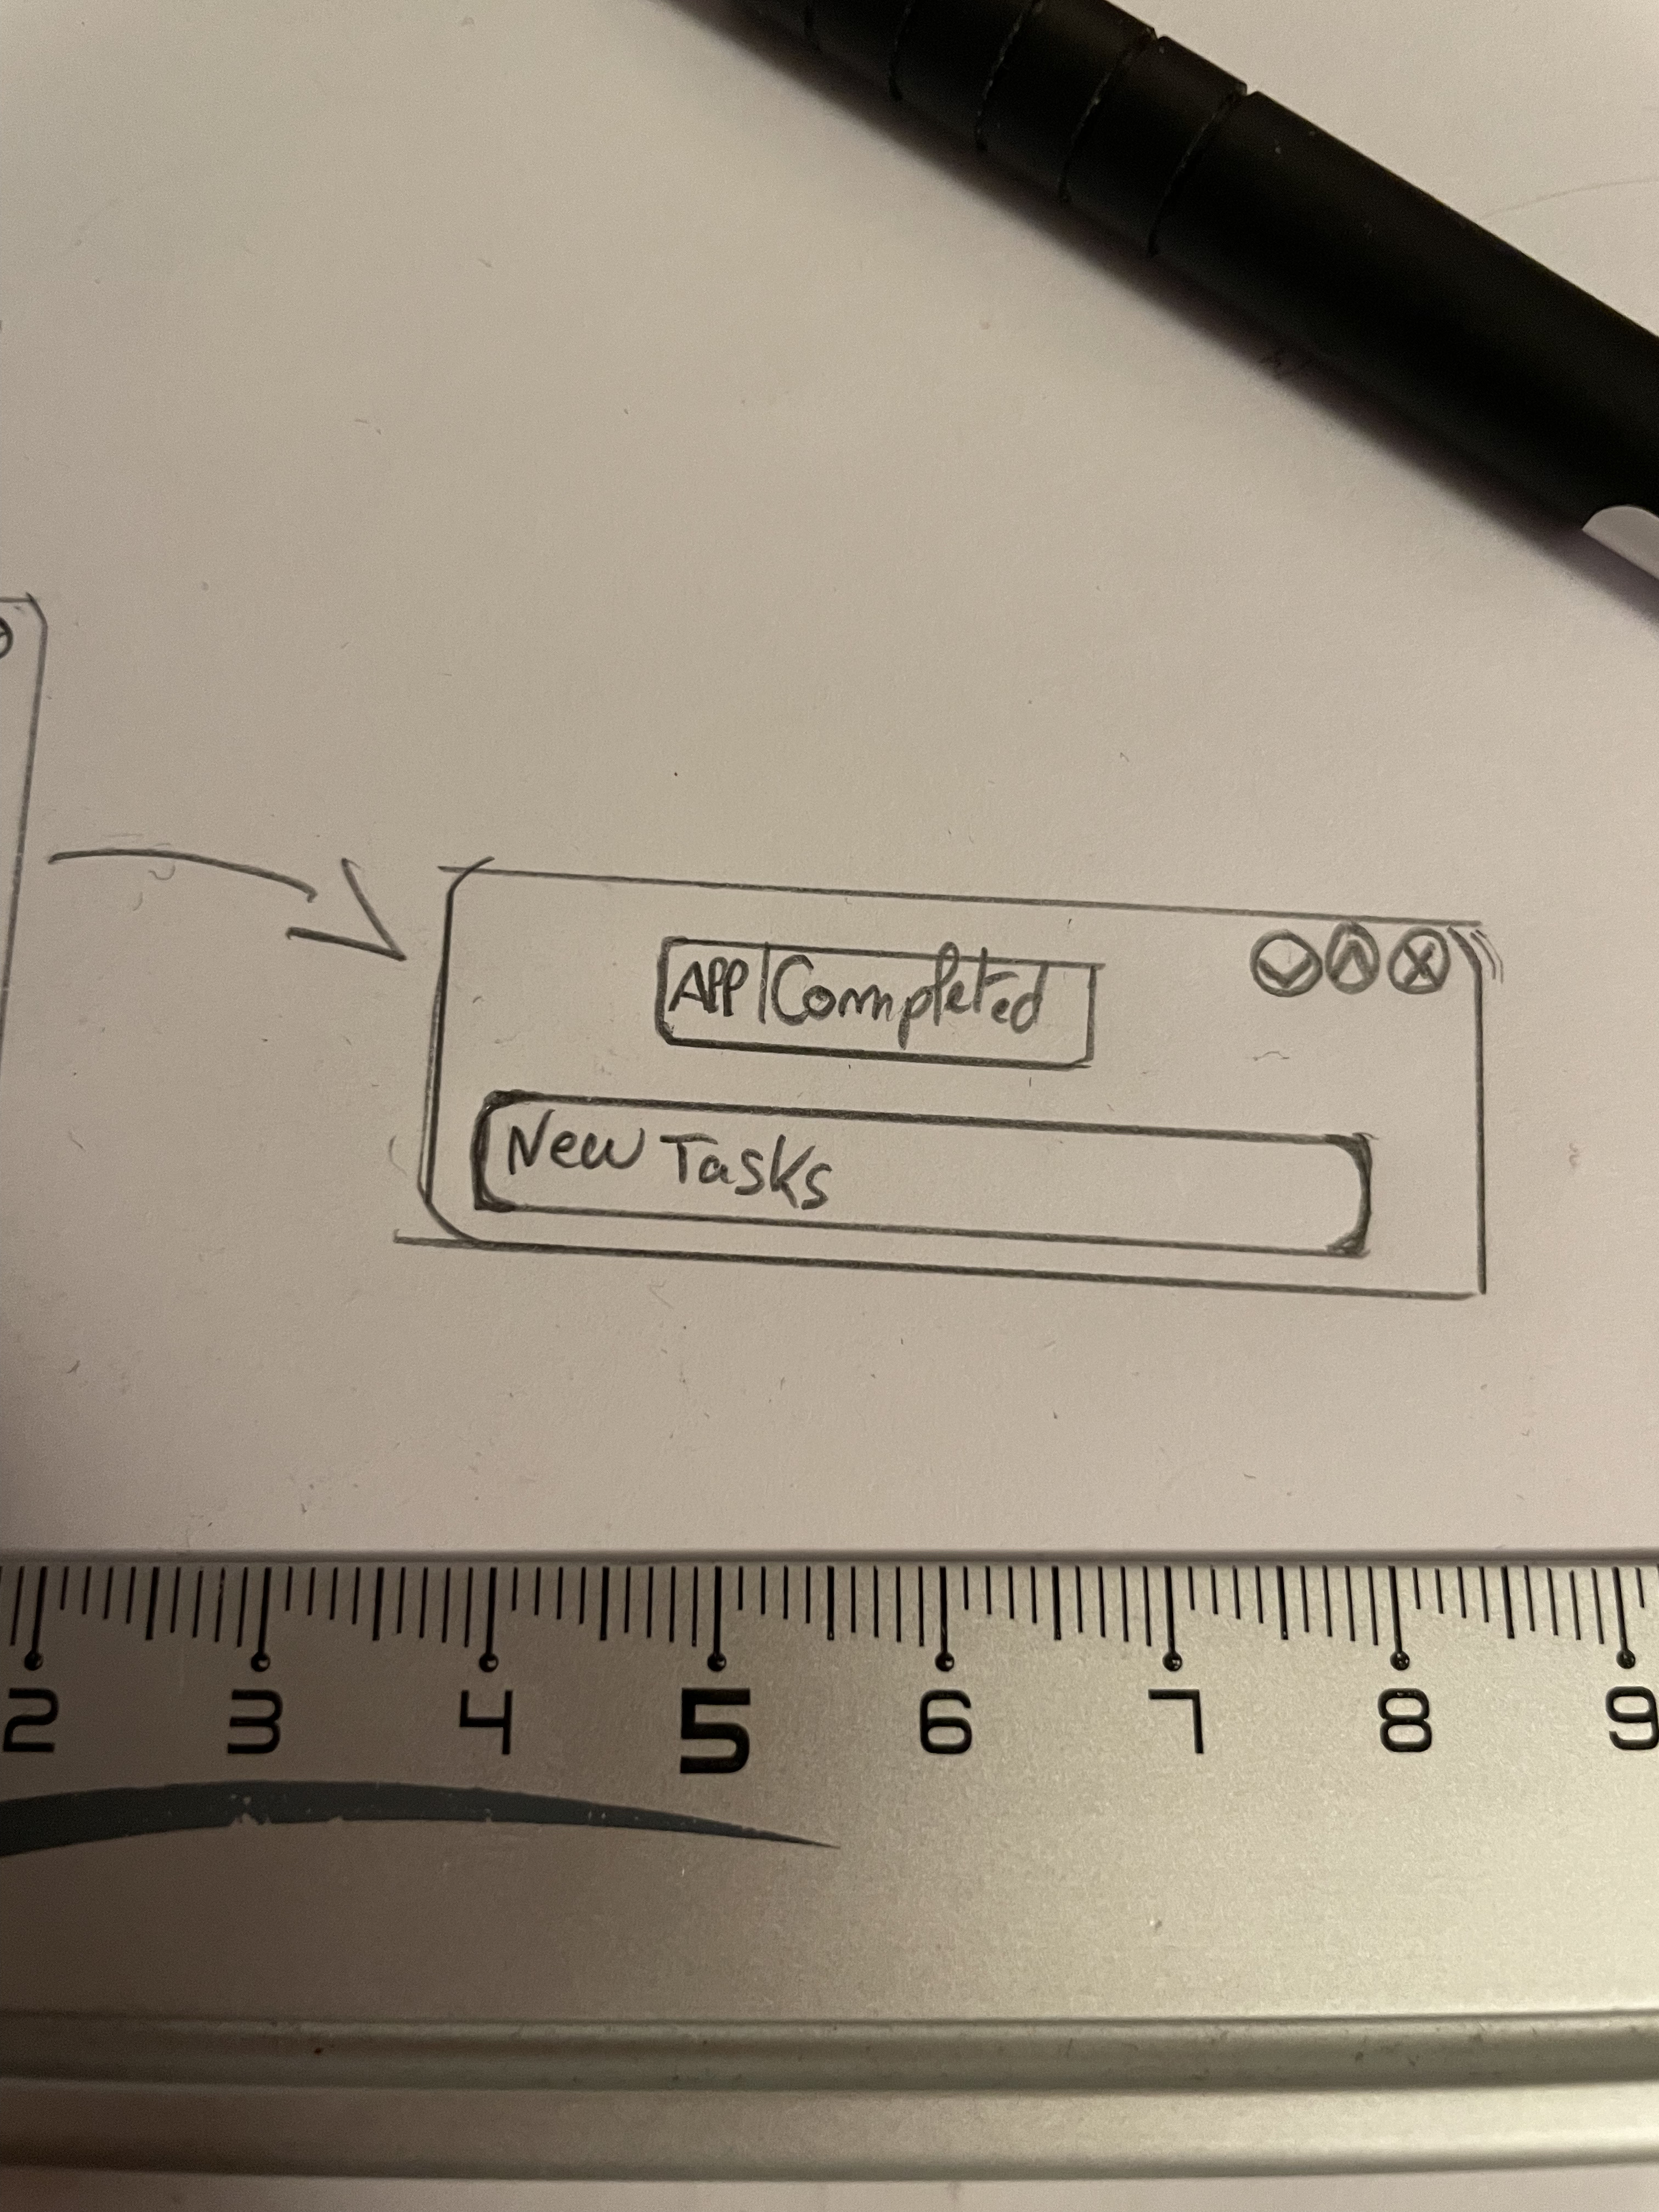
This makes us use new widgets:
- HeaderBar
- A customisable title bar widget, used with ToolbarView as the canonical header of the view.
- ToggleGroup
- A group of exclusive toggles, perfect to represent a choice of filters
We are going to proceed very imperatively:
- First we create an empty toggle group;
- Then we proceed to generate a toggle for each filter type
- And we add the toggle to the group
In code:
filterGroup :: IO Adw.ToggleGroup
filterGroup = do
  group <- new Adw.ToggleGroup []
  forM_ [All, Active, Completed] $ \f -> do
      toggle <-
          new
              Adw.Toggle
              [ # name := display f -- Lowr-case identifier
              , # label := Text.show f -- Capitalised identifier
              ]
      Adw.toggleGroupAdd group toggle
  pure group
Back to our view function. Let us now integrate this filter group into the
HeaderBar widget:
-  header <- new Adw.HeaderBar []
+  filters <- filterGroup
+
+  header <-
+    new
+      Adw.HeaderBar
+      [ #titleWidget := filters
+      ]
And wouldn't you believe it, this is the end result!
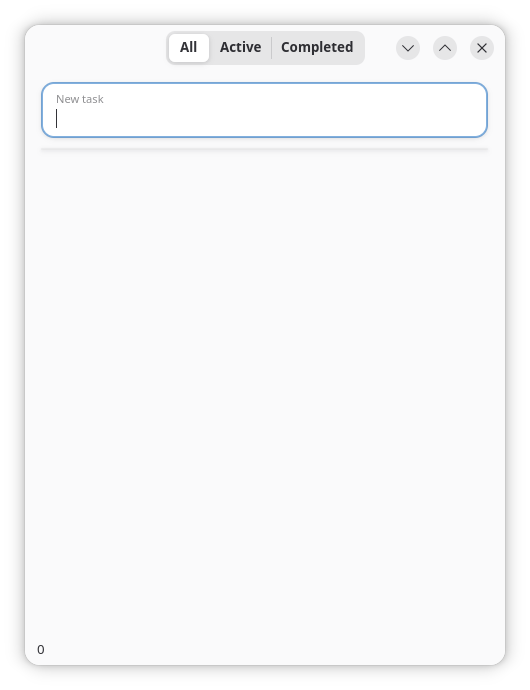
But so far they do not do much. Let's connect them to our update function.
To use a Toggle Group, we have to set which of its options is "active" (for us it will be the current one, found in the Model).
filters <- filterGroup

Adw.toggleGroupSetActiveName filters (Just (toFilterId model.filter))
Then when the currently-active name changes, we get it and set it as the new
filter. The forM_ here traverses the 'Maybe' structure resulting from the
parsing. If we cannot parse the active name string ('Nothing'), we do not set
the new filter.
on filters (PropertyNotify #activeName) $ \_ -> do
  name <- Adw.toggleGroupGetActiveName filters
  forM_ (name >>= parseFilter) $ \newFilter ->
    dispatch (SetFilter newFilter)
And doing the actual filtering:
todoList <- newBoxedList
-  forM_ (model.todos) $ \todo -> do
+  forM_ (visibleTasks model) $ \todo -> do
     row <- todoRow dispatch todo
     Gtk.listBoxAppend todoList row
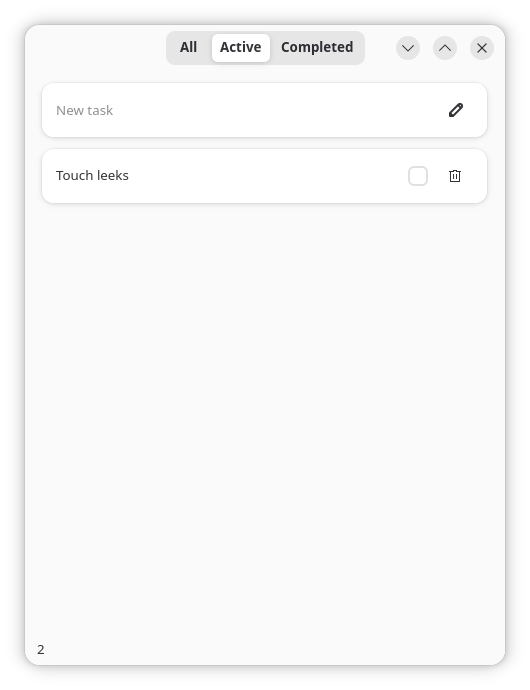
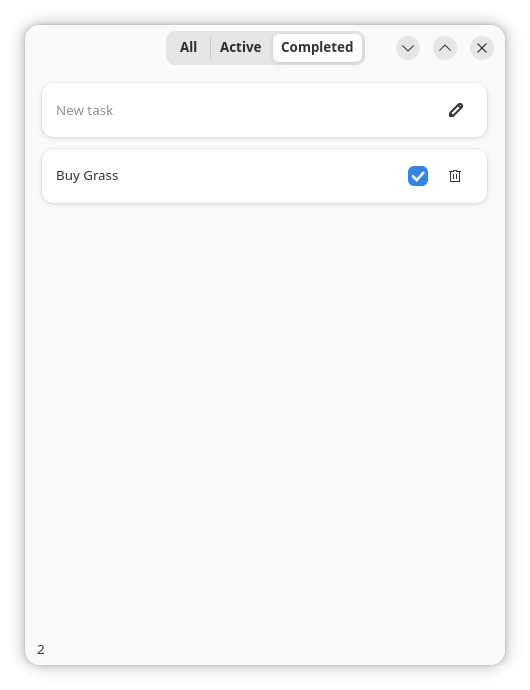
Which gives us this:
See you now in Part 3 where we will tackle the subtle-yet-important aspects of Focus and Scrolling!